Archive

A cake for Josh

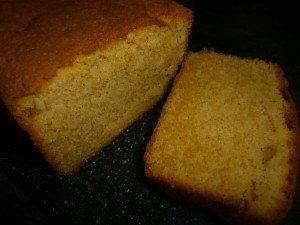
To quote Josh “for generations families have handed down recipes, now we switch to handing down wordpress database backups” This cake was made often by my mother, and I have the recipe on a tatty bit of paper in her handwriting.  I am now handing it down in this new fangled way.

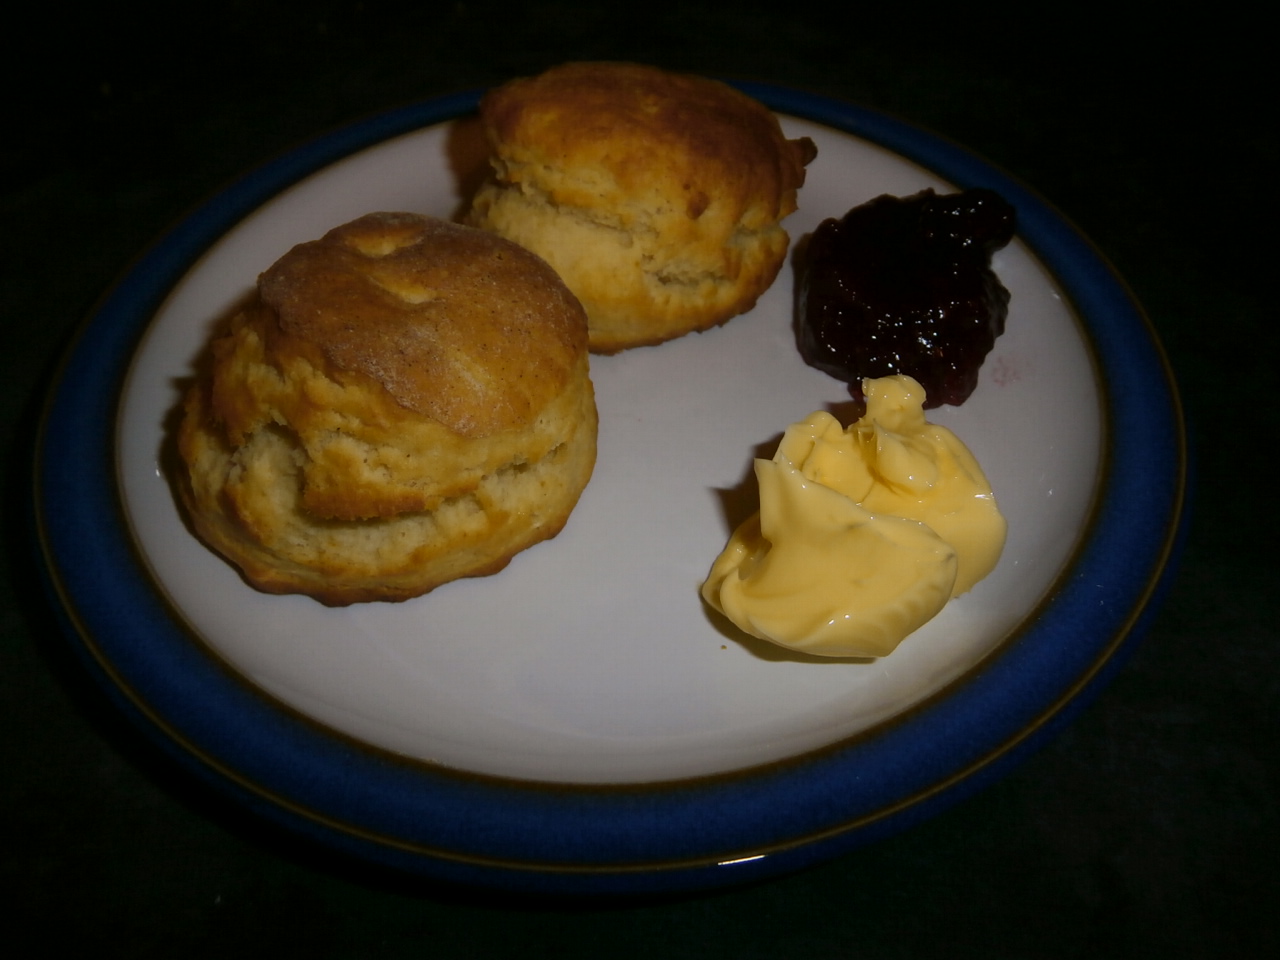
It is a perfect cake to have around as it isn’t overly sweet, and is wonderfully moist. If you are feeling indulgent a slice spread with butter is delicious, and it goes rather well with cherry jam too. It is good with a cup of tea, in a lunch box, and warmed in the microwave and covered in hot, creamy custard.

This cake also makes a lovely base for a trifle, mind you so does shop bought jam swiss roll, and you don’t have to make everything from scratch.

OLYMPUS DIGITAL CAMERA

Almond Loaf Cake
Print Recipe
This is a plain cake with no decoration or filling, it is however very moist because of the almonds. As usual use 30g for 1 oz.
Servings Prep Time
1 loaf 20 minutes
Cook Time
1 hour
Servings Prep Time
1 loaf 20 minutes
Cook Time
1 hour
Almond Loaf Cake
Print Recipe
This is a plain cake with no decoration or filling, it is however very moist because of the almonds. As usual use 30g for 1 oz.
Servings Prep Time
1 loaf 20 minutes
Cook Time
1 hour
Servings Prep Time
1 loaf 20 minutes
Cook Time
1 hour
Ingredients
Servings: loaf
Instructions
  1. Line a 2lb loaf tin, and preheat oven to 160C/325F/gas mark 3
  2. Place all the ingredients in a bowl and beat until smooth. This will only take 2 minutes with a hand mixer, a little longer with a wooden spoon.
  3. Spoon into the prepared tin and smooth level. Bake for 1 hour, or until golden and well risen. Cool on a rack before storing in an airtight container. Leave for 24 hours before cutting.
Share this Recipe
 
Powered byWP Ultimate Recipe

Delicious scones soon gone!

I love scones however they can cause such debate that I think we should get the pronunciation out of the way now. If you say the title of this post so that it rhymes you have got it right. Done!

The next debate occurs when you want to serve them, cream or jam first? The easy way to resolve that is to serve with butter, but seriously what does it matter? I put jam first as I can then pile as much clotted cream on top as will balance. This is probably not a sensible argument, but it’s the one I am going with.

I have tried a lot of scone recipes but I always go back to this one from a Dairy Council cook book from 1975. It is simple, tasty, and doesn’t have that bicarb taste that can spoil scones.

OLYMPUS DIGITAL CAMERA


Scones
Print Recipe
The recipe here is for plain scones, so perfect to eat with jam. If you want fruit scones reduce the sugar to 1 oz and add 2oz dried fruit just before the milk. If you like to measure in grams use 30g per oz. Scones taste best on the day that they are made but will keep for a couple of days. They do freeze well if you want to make them in advance, just warm through in the oven before serving.
Servings Prep Time
8 scones 15 minutes
Cook Time
12 minutes
Servings Prep Time
8 scones 15 minutes
Cook Time
12 minutes
Ingredients
Servings: scones
Instructions
  1. Rub the butter into the flour until it resembles fine breadcrumbs. I grate the very cold butter into the flour with a cheese grater, and then just finish it off with my fingers.
  2. Add the sugar and mix through. If you are using dried fruit add at this stage.
  3. Using a knife stir the milk into the mix until you get a ball of mixture that leaves the bowl clean. Do not add all the milk at once as different batches of flour absorb different amounts of liquid.
  4. Turn the mixture out onto a lightly floured surface. Bring together until smooth with you fingers very gently. Do not knead or the scones will be tough.
  5. Roll out to 2cm thick and cut rounds using a 5cm cutter. Place on a baking tray and bake in a preheated oven 220C/200C fan/425F/gas mark 7 for 12 - 15 minutes. The scones should be golden and sound hollow if you tap on the underside.
  6. Place on a cooling rack immediately so that the scones stay crisp on the outside, and soft in the middle.
Share this Recipe
 
Powered byWP Ultimate Recipe

Copyright © 2024 Cheryl's Table

Theme by Anders NorenUp ↑